
Despite my love of all things dark and dingy I really struggle to find pleasure when working on black tiles. The white gel pen feels too thick, the extreme of white on black too harsh, and the shading effortful and hard to control. And that's just the basics - introducing colour onto black tiles becomes even more baffling to me. I don't want my tangling to feel like a chore. So I was quite excited when I stumbled across this technique towards the end of last year.
I discovered by accident that when you use white gel over certain colour the colour is taken on by the white, and something almost magical occurs. I've been refining the technique ever since and am pleased to share ZenAurora with you. I named it after the aurora (borealis and australis) - the elusive night-sky phenomenon that few are lucky enough to see.
The
technique is simple to achieve – three steps is all it takes.
Everything you need to know is contained in the following image.
However I wouldn't be me if I didn't go into greater detail about my
experiments and findings!
 |
| A black ATC gains colour in 3 easy steps! |
I discovered that not all colours work equally. Some change colour quite radically, while others fade to insignificance (as can be seen clearly on the chart below). I've also found that intensity differs depending on the paper used - it's more muted on the official Zentangle tiles - possibly because of their rougher and more absorbent surface. On smoother paper (Clairefontaine PaintOn, and Stonehenge Aqua Black) the colours were more vivid. You might prefer it one way or the other. Leave your tiles to dry after colouring. I often prepare a bunch and then tuck them away ready for when I want them.
 |
| See how some colours change and some lose their intensity |
The second step is where the surprises really happen. Grab a pre-coloured tile and a white gel pen. I've used Gelly Roll in all my examples but I tested a couple of other brands and they worked pretty much the same. Remember that you can use different widths of Gelly Roll which will give you different looks to your lines. Simply tangle across your tile and your lines will magically pick up the colour that you pass over, shifting as you move from one patch to another. Fun right? Once you've finished tangling allow your white ink to dry.
 |
| On the left a tile with no shading - on the right black coloured pencil shading |
For the final step you can shade if you choose to. I prefer not to add white highlights but to darken areas of overlap instead – and for this I use a black coloured pencil as to me it looks better on the black tile than the shine left by graphite pencil. If you're wary of shading I think there's enough interest just from the tangles and shifting colours themselves. Certain colours of watercolour pen leave a noticeable colour on the tile. Mostly this will be covered by your tangling, but if any remains and it bothers you, you can calm it down by going over that area with your black coloured pencil. I also sometimes use my black ink pen to really darken some areas or add perfs or tiny detail lines.
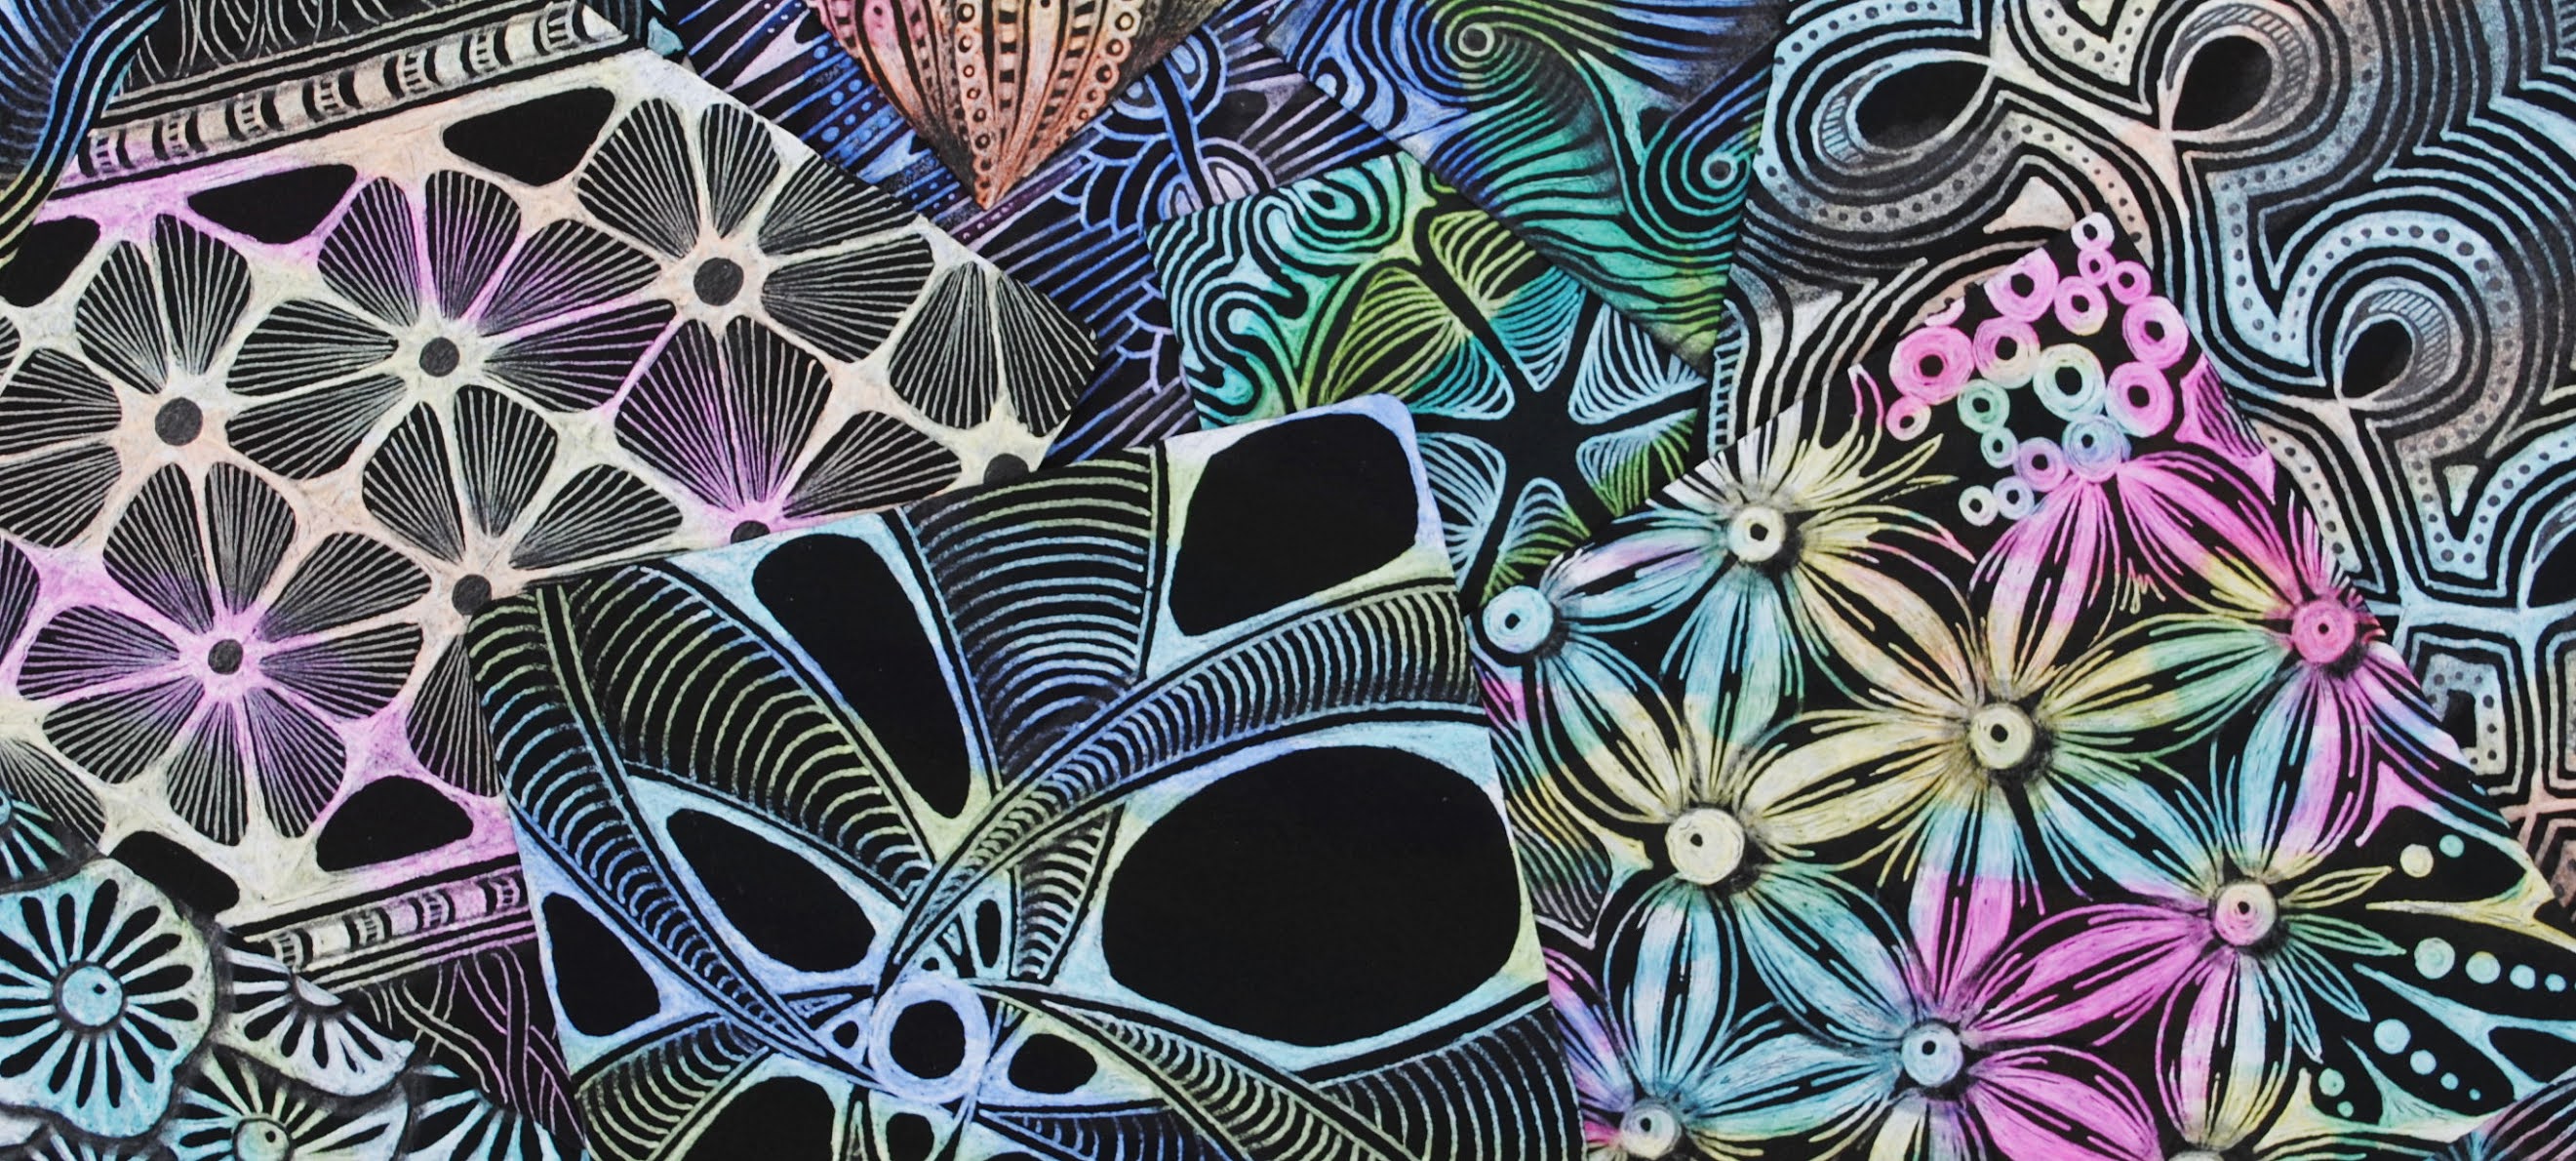
 |
| An array of ZenAurora tiles. Different colours, different tangles, same magic! |
Remember that ZenAurora
is not an exact science. You will have unexpected results, some might
be disappointing, but many will be wonderful – and I think it's
worth the risk.
 |
| An insight into my experiments. |
I trialled many little scraps and Bijou tiles while getting to know this technique. I found colour combinations that I loved, and many that didn't appeal to me quite so much. I also found tangles that worked better than others – but you may be drawn in entirely different directions. Floral and organic tangles seemed particularly successful - my personal preference was for tangles with lots of detail lines and repetition. You might like to test out some combinations before you start on full-size tiles. Or you might prefer the thrill of just jumping in and seeing what happens!
 |
| My favourite tiles - cool and calming and celebrating the balance between darkness and colour |
Ultimately ZenAurora is about having fun - watch as your humble white pen shifts through the spectrum, illuminating your tile as if it were the night sky. I hope you have fun with this technique and I'd love to know how you get on.
***
I
was almost finished preparing this post when I learned that Apple Lim had shared a video on her YouTube channel demonstrating the same
technique. With many miles between us we had no idea that we were
working on the same thing, at exactly the same time. Apple has graciously
encouraged me to share my explorations with you, so please do take a look at her video which ably demonstrates her process.
I've also just learned that queen of colour Heidi Kay uses this technique in a number of exciting ways. She has classes for bringing wild amounts of colour onto your black or white tiles.
Thanks also to Anica (Zen Linea) for encouraging me from the earliest stages of this idea. She does some truly stunning work on black tiles - please take a look at her examples and classes.
Beautiful work, thank you very much for sharing this wondeful technique for free, that has become a rarity in the commercial world of "Zen" tangle art of today! I'm very glad there are exceptions!!!
ReplyDeleteThank you Ria - I hope you enjoy working with it. I am not a CZT so I can't charge, and also this is quite a simple technique. I think it's fair when CZTs charge to teach more complex processes alongside the Zentangle approach.
DeleteYou have a lot of talent, much more than some people with the title CZT.
DeleteThis is a great technique! I love the unexpected effects and how the colours pop out!! Thanks so much for sharing. I love experimenting and can’t wait to give this a go. Axxx
ReplyDeleteThank you A! I had a so much fun with this. Making more and more tiles just for the thrill of seeing what would happen next. Thanks for your enthusiasm - let me know how you get on.
DeleteWow! I can’t wait to play with this technique.
ReplyDeleteThank you Alice. Knowing your style, I can see you working wonders with this. Have fun!
DeleteBeautiful technique thank you for sharing it jem 😍
ReplyDeleteThank you for your kind words Bebe.
DeleteI had already watched Apple Lim's video when I saw your post. Very nice addition to watching her video.
ReplyDeleteThank you Pat. I agree, my post and Apple's video compliment each other to demonstrate the technique in ways accessible to all.
DeleteThis comment has been removed by the author.
ReplyDeleteThank you for sharing this! I saw Apple Lim's video and tried it, and she recommended checking out your blog. I love it!
ReplyDeleteThank you Rhonda. Apple has been lovely, encouraging people to look at my blog, and I've been encouraging people to look at her video. I'm glad us tanglers support each other.
DeleteThis was awesome, thanks for sharing, Jem! I love your work, and I could ogle all day at your posted examples. I did on that I shared in one of my FB groups (and think I tagged you). It was fun; want to explore more. Thanks for sharing your techniques for free (as someone above mentioned). Did Zentangle HQ make the rule that you can't charge without a CZT title? That seems a bit stingy to me.
ReplyDeleteThank you Molly, it's lovely to hear you say you like my work and enjoy the technique. Yes, I think we are chatting about the techique in a FB group - unless you are a different Molly?!
DeleteIt's not a new rule, I've always understood that the guidelines suggest you can't make a charge to teach the ZT techniques unless you are a CZT. I accept that and am happy with it. I don't want to make profit from my art, although I support those that do.
Hi Jem, yes, it's me, the same Molly from the FB thread. ;-)
DeleteThanks for enlightening me about the rule. I'm not sure how they can legally require a CZT in order to charge for your teaching (I suspect it's not "legal" given similar issues I've seen in other realms) but I'm not going to challenge them. I've seen a few nasty exchanges from Zentangle HQ with the pattern-collections ladies, and I'd rather Zentangle HQ take a more collaborative approach to other creatives out there doing good for our creative communities. I think there's room for both business success and more free thinkers to this method. Ok, I'll hop off my soapbox now.
Thanks for all you continue to do for free for the Zentangle community! I appreciate it.
Hi Molly. Blogger failed to alert me to your reply, hence my slow response!
DeleteI hear you. These are tricky areas that have, and in some ways continue to be difficult to negotiate. There's been so much drama over the years, and I think it often detracts from something that brings so many people pleasure and peace. I try to walk a line through the middle avoiding much of the angst if I can.
I've also given much thought to my own ethics about charging, enlightened to a degree by my partner who is active in the knitting community. I considered working this technique up into a free PDF to give to people, but that would potentially 'compete' and undercut people, many who I consider close friends, who make their living from selling their ZT classes and ideas.
This idea is small, so I shared it through my blog post, and hopefully avoided any animosity or upset.
Hi Jem, no worries! I'm only on my laptop a few times a week for typing stuff like this.
DeleteI was chatting with another tangle buddy today about the teaching/legal dilemma, and it is tricky. I agree with you on the middle path, and I also think there's room for everyone. So if you want to make a PDF for folks, go ahead! I don't think it undercuts those charging/monetizing their practice. It's really about supply and demand, and if you have something people want, then why not give it to them, fee or not?
It's been nice connecting with you through this awesome technique you shared. I look forward to learning and sharing more together as our art continues. Be well.
I totally agree about the middle path. In many areas of life I think it's important to stand your ground firmly, but in this I'm willing to weave and bend. Art is a place for peace not dispute. Lovely connecting with you too. Take care and happy tangling!
DeleteI grew up in Michigan and I've seen the amazing Northern Lights many times. I'm looking forward to trying this. I don't have any brush pens but I've got some very old Crayola markers that were my son's that might do the trick. Thanks Jem!
ReplyDeleteI just realised that I hadn't replied to your lovely comment. How wonderful that you got to see the Northern Lights on your doorstep, I'm sure it's both strange and impressive.
DeleteAnd how thrilling to know you tried the technique and it worked for you!
Oh. My. Gosh. I just found this, and had to drag out all my watercolor pens and test them over black paper. What an amazing effect! I'm in LOVE! Thank you so much for sharing!
ReplyDeleteThank you so much for your lovely comment. I'm glad you've found my post and are enjoying the technique. It's great fun isn't it!
DeleteI absolutely love this, it's so much fun to do. I'm a CZT and would love to share it, would that be okay?
ReplyDeleteI'm so pleased you had fun with the technique. You're most welcome to share it - thanks for asking.
DeleteAh thank you so much ☺️
ReplyDeleteSorry, not logged in - it’s Ruby2Shoes :)
ReplyDelete